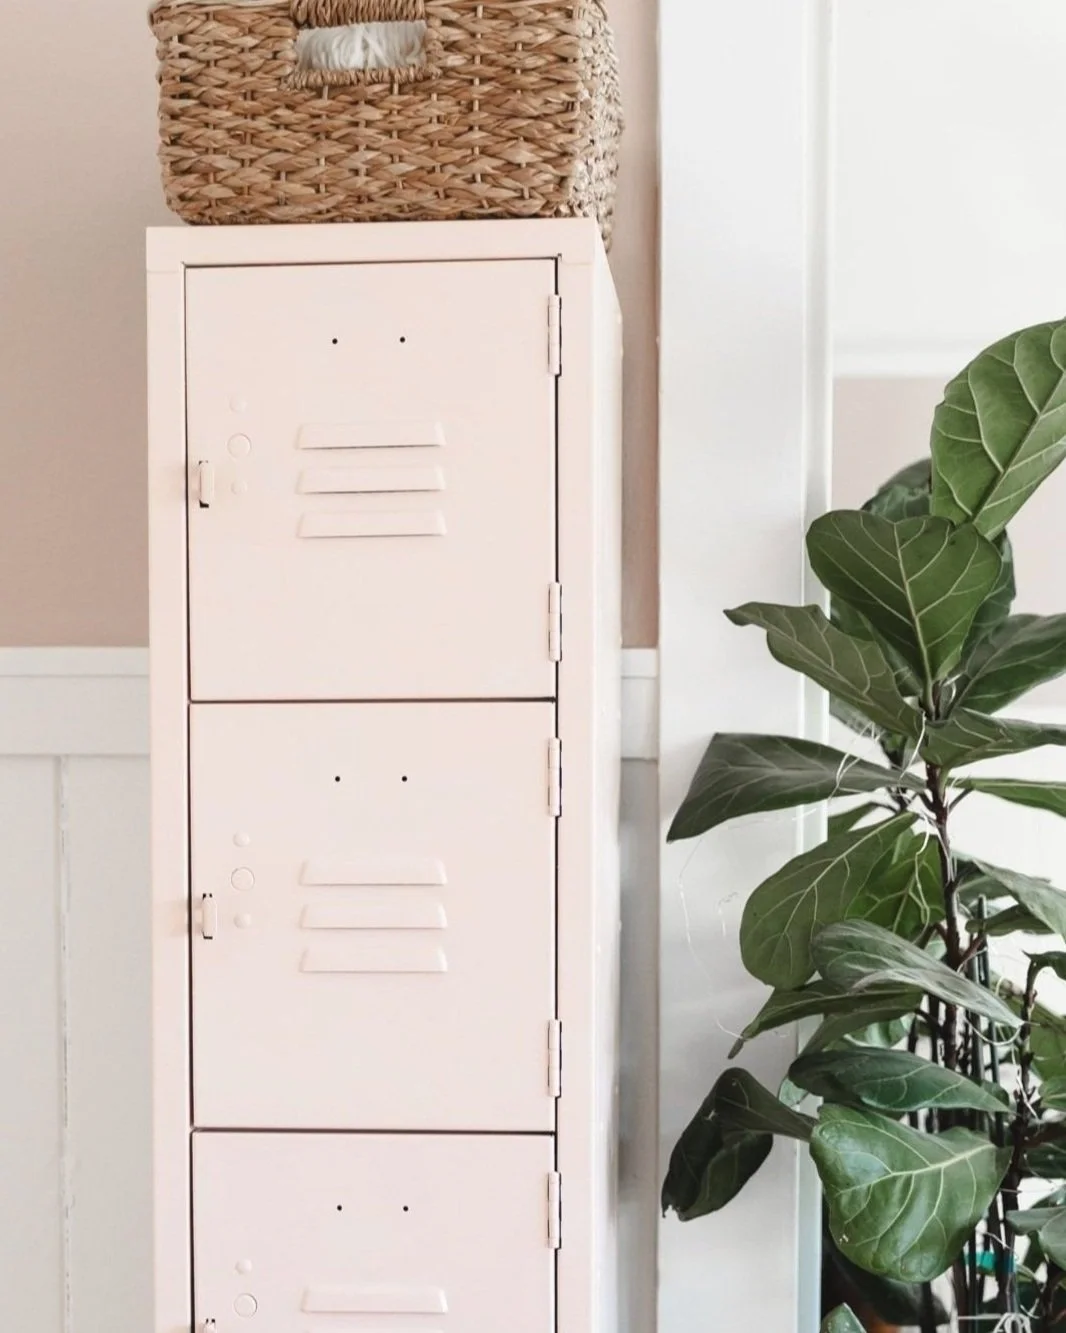
Locker Makeover with Enamel Paint
Try turning a locker into storage with this simple makeover. If you live in a small space like me, you might be on a constant search for storage solutions. This idea can maximize your storage while taking up very little space!

Storage is extremeley limited in my tiny studio apartment. While I love the idea of minimalism, I am a collector at heart. I just love my things too much! I also don’t want to get rid of anything now only to need them again if I have a bigger space in the future. I’ve always loved the way lockers look painted so I decided to give it a try!


I found exactly what I needed on Facebook Marketplace for only $75 (This was a great price for the area I live in. Depending on where you live, you may be able to find some much less expensive than that - maybe even free!). Then I headed to Home Depot to pick up some paint. I have used spray paint on metal in the past and found that it is best to use with protective coating to prevent it from chipping. That is fine for smaller projects, but for a project this size I knew I wanted to try hard drying paint. I chose Urethane Alkyd Enamel from Behr. I also picked up some Bulls Eye 1-2-3 Primer it will help the paint adhere to the locker and also help prevent rust.
Behr’s Cupcake Pink was the color I used for the enamel. I took the swatch to Home Depot’s paint counter and had them mix it for me.

Supplies
Soap and Water
Sponge or rags
Paint Roller
Angle Brush
latex gloves (optional)

Steps
Wash down your locker really good with soap and water. Let dry or dry it with a lint free cloth.

With a roller, paint on a layer of primer. For the corners and edging, use a paint brush (I like to use one with an angled edge for details like these).

Let the primer dry to touch before starting the next step (about an hour).

Next, repeat with the enamel paint. Make sure you mix the paint before you get started (I usually shake the can for a minute while the lid is still sealed tight). This stuff is smelly and toxic so definitely do this in a well ventilated area, outside or in an open garage if you can. Let dry for at least 24 hours.

I couldn’t wait to start organizing my stuff into it. I’ve been using it for at least six months now and the paint has held up without any scuffs!
-Jessie