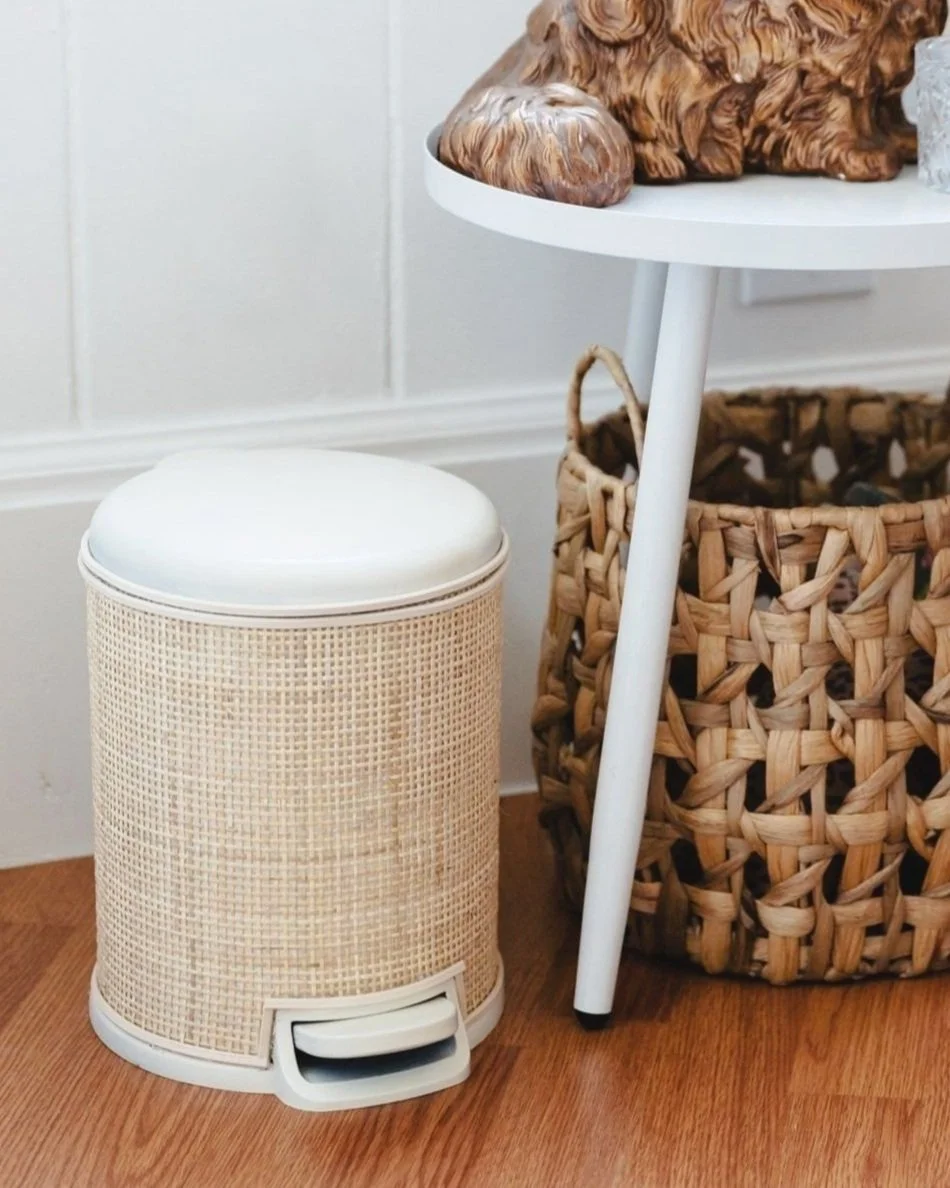
Trash Can Makeover
This trash can makeover with caning is just the thing to elevate the average household trash can. It may sound a tad extra, but hey! Sometimes it’s the little things in life that make ya happy!
I’m not gonna lie - this DIY is not for the faint of heart. It is tough and you might even burn your finger on hot glue. But if you are dedicated to having a fancy a** trash can, allow me to show you the way.


I’ve had this trash can for years and kept it around out of necessity but always thought it looked blah. Since then, I’ve slowly been developing a cohesive style in my space and the trash can was sticking out like a sore thumb. I had some caning left over from a previous project so I thought why not give it the best makeover of its life?!
SUPPLIES
For Painting
Trash can
Spray paint of choice (Rustoleum is great for metal)
Mod Podge Clear Acrylic Sealer in Gloss
Protective Gloves
N95 Mask
For Caning

STEPS
Make a template of the surface area you want to cover on your trash can. My can has a foot pedal that makes the surface area an odd shape. I found that making a template was the easiest. I used regular old printer paper and taped a few pieces together. Next, I placed it onto my trash can and traced around the surface area and cut out what I had traced with scissors.
*Note: I did this after I painted the can, but I recommend doing this beforehand so you don’t have to worry about messing up the paint job.


Once your template is ready, wash your trash can with soap and water and let it completely dry.

In a well ventilated area, spray paint your trash can. Start with one coat of paint and let dry for fifteen minutes. Repeat two to three times until paint is evenly covering the can. I focused more on the areas that would not have caning since they would stand out more. Spray a coat of the acrylic sealer and let dry fifteen minutes. Repeat with a second coat.
For protective measures I wore gloves and a threw down a large piece of canvas to cover the cement. I also recommend using an N95 mask while spray painting and sealing.

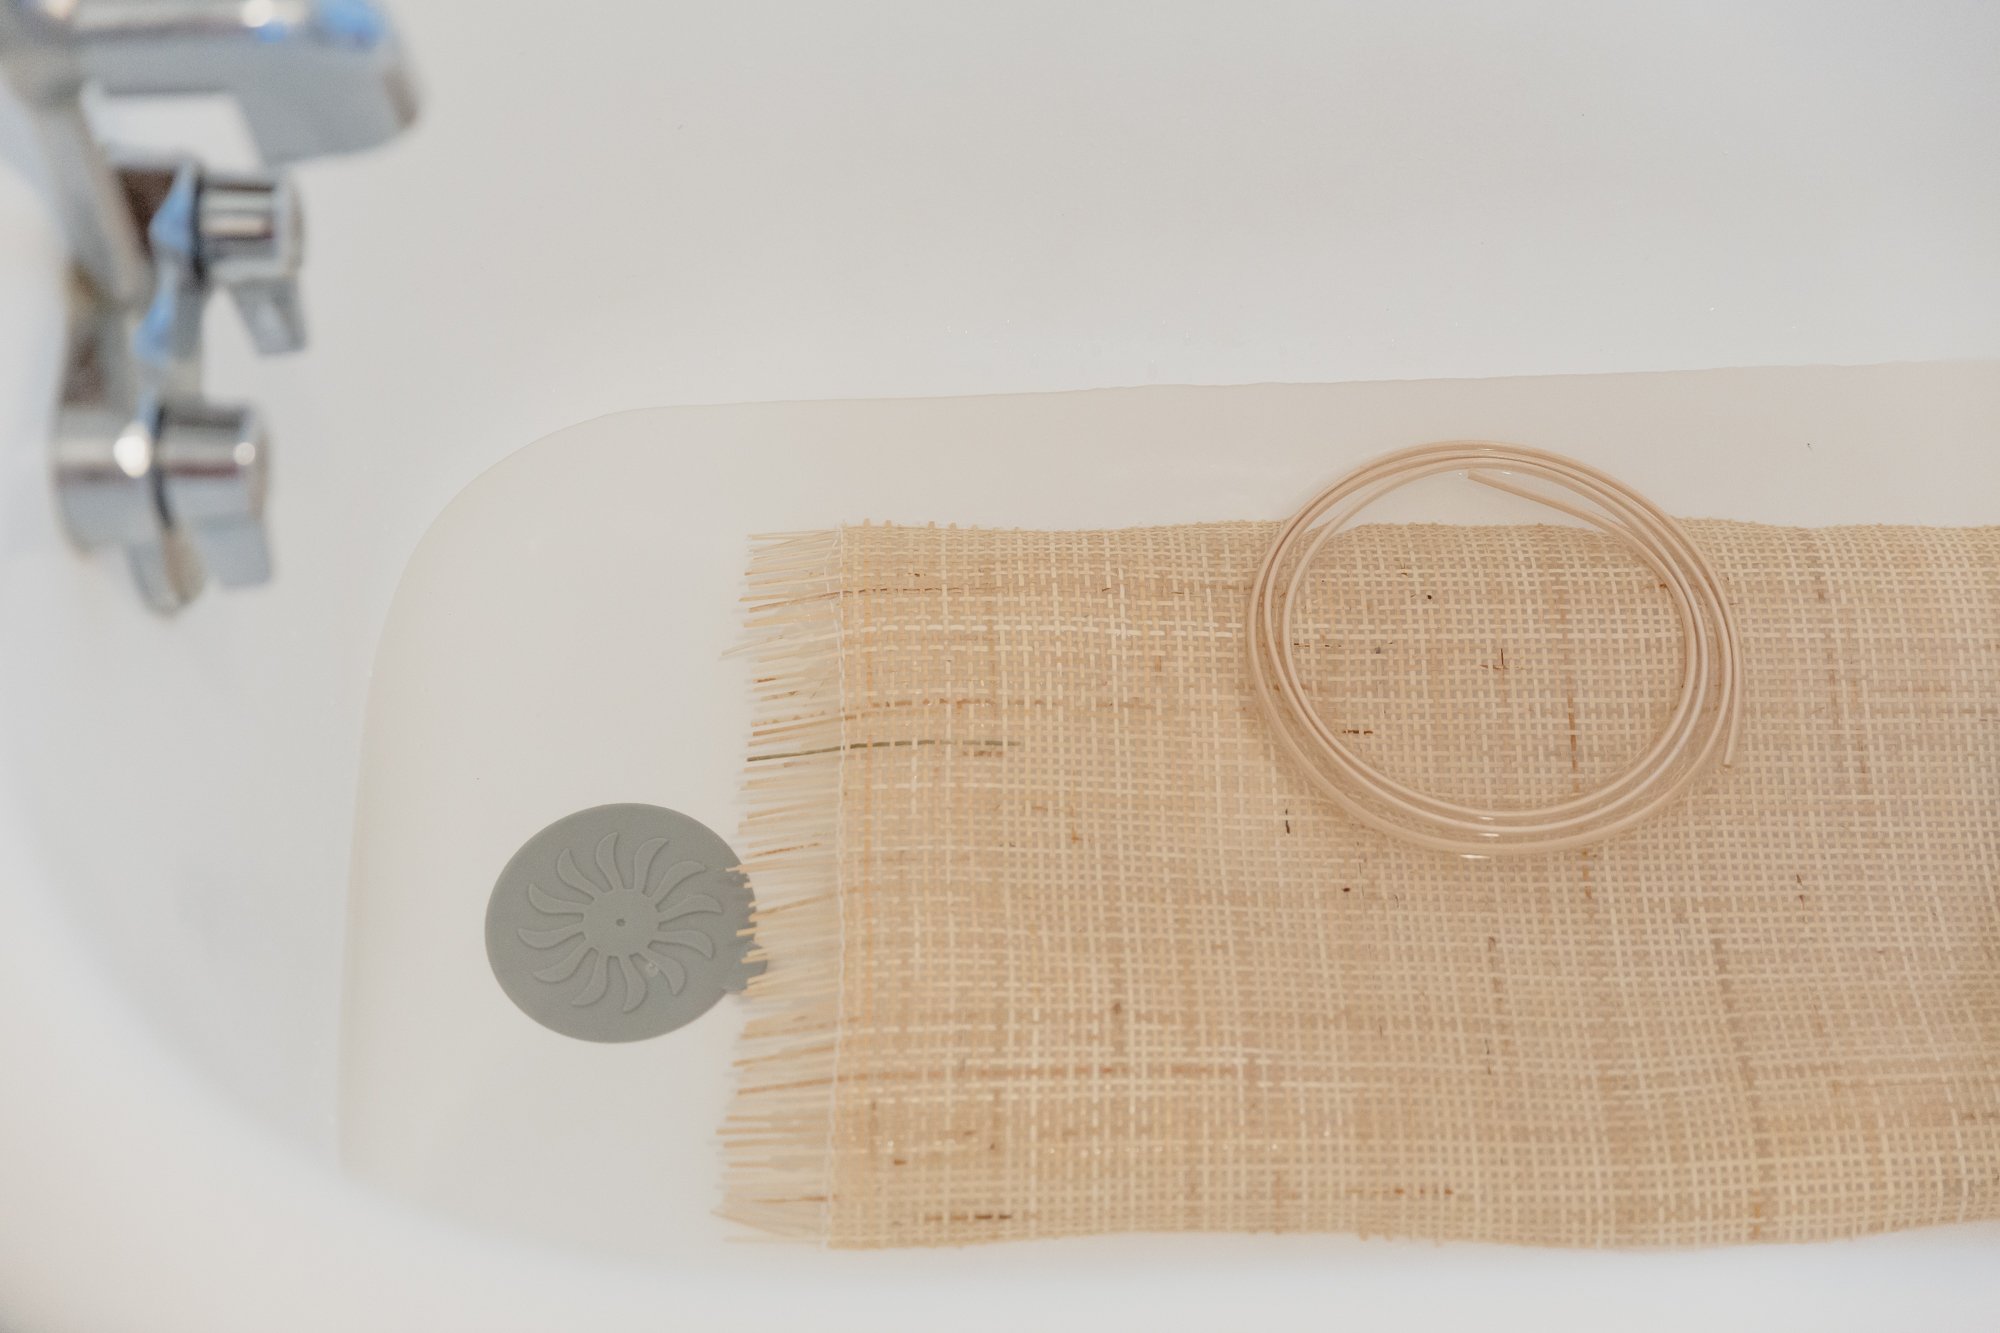
While your trash can is drying, let the caning and spline soak in cold water. I just used a thin layer of water in my bathtub, but you may use any container that can hold water. However you choose to soak it, leave it in long enough for the caning to become pliable. Mine took about an hour.
Once the paint is completely dry on your trashcan (I would give it at least an hour but the longer the better), remove the caning from water and pat it dry so it isn’t dripping water. Place the template on the caning and trace around it with a sharpie or bold pen. Cut out the caning with sharp scissors.


Using a hot glue gun, glue the caning to your trash can. Try not to gloop up the hot glue, instead press the caning down into it so it lies flat against the can as the hot glue dries. Watch your fingers here, the hot glue will burn you if you touch it. Keep to the edges so that you can cover up the hot glue points with the spline.
Dry your caning off and line the edges of the caning with spline on the top and bottom of the trash can, gluing into place and pressing the can down as it dries so it is not lumpy or bulky. The best way to do this is to bend it to the exact shape of the of the trash can, which requires over-bending the spline into a tight circle and then releasing it to fit the trash can’s circumference.
Cut the spline to corner the edges around the foot petal mechanism (if yours has one).
Now stand back and admire your work - you’ve got one fancy trash can!
xo,
Jessie